If you do not have a My Account, My Business Account or Represent a Client Account already with the CRA, then go through the steps outlined in Part A. If you already have a CRA account and need to add a business to your account, then proceed to Part B. If you need to add Gregory, Harriman & Associates LLP as an authorized representative, please proceed to Part C.
If you have forgotten your CRA account password, you will need to call the CRA’s Business line at 1-800-959-5525 for assistance.
Part A - Set Up CRA Account
Register for a CRA Account
You will have to complete a few steps, to get started visit: https://www.canada.ca/en/revenue-agency/services/e-services/digital-services-businesses/business-account.html.
Select Register for a CRA account.
Step 1 – Have the following personal information ready
-
Social insurance number
-
Date of birth
-
Amounts reported on your most recent tax return
Optional for faster access:
-
One piece of ID (Canadian passport, Driver’s license, or provincial photo ID card)
-
Mobile device with a camera
Step 2 - Choose which sign in option to use
-
Sign-In Partner – this option partners with your bank and allows you to use the same sign-in information you use with your online financial institution. You must be registered for online banking and your bank must be listed as one of the sign in partners.
-
CRA user ID and password – this option allows you to create a username and password.
-
Provincial partner (BC, AB) – this option allows you to use your Alberta.ca account sign in to immediately gain access to your CRA account online.
Step 3 – Validate your Identity
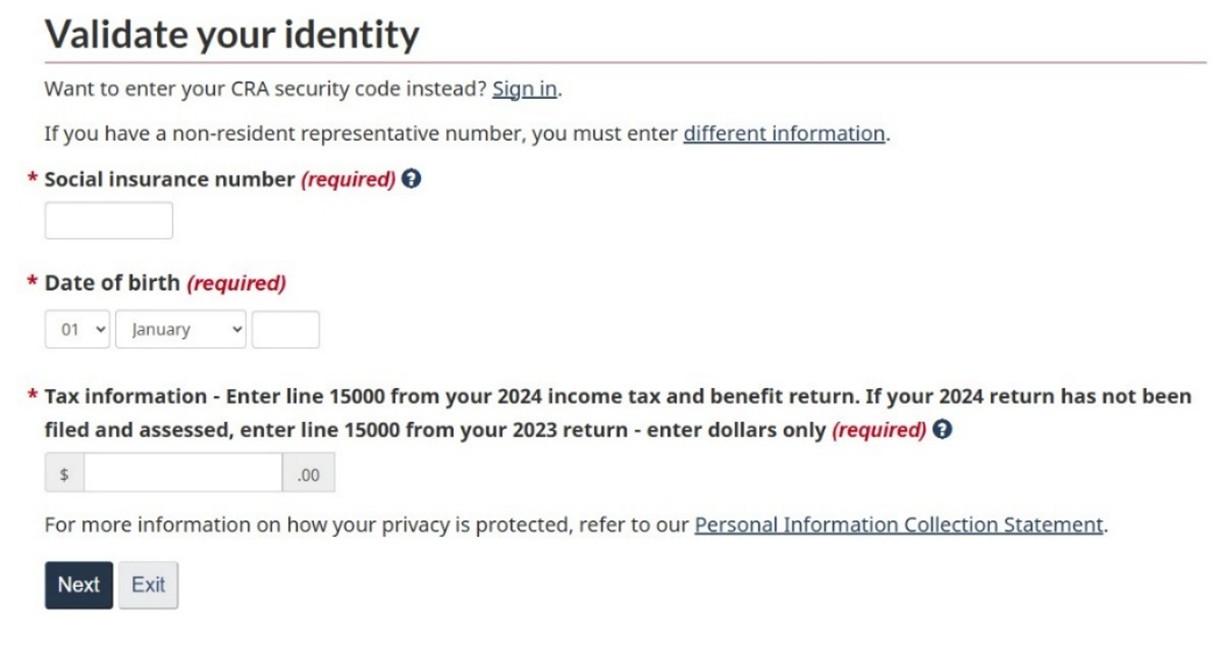
Step 4 - Choose which option you would like to use to verify your identity
-
Submit a photo of yourself and your ID or
-
Wait for your CRA security code in the mail
-
Enroll in mandatory multi-factor authentication by selecting your preferred method (authenticator app, telephone or passcode grid). For more information, see multi-factor authentication.
-
If you choose to complete your identity verification on a mobile device, then complete this process, otherwise the CRA will mail your security code via Canada Post and you should receive it within 10 business days.
Step 5 – Enter the CRA security code
-
To access your account, return to Sign in to your CRA account, select your sign in option then enter your user ID and password. When prompted, enter your CRA security code.
Step 6 – Enable email notifications
To Enable email notifications first click on Profile in the Navigation window (left hand side).
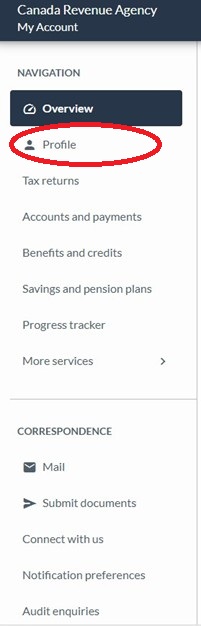
Then find the box titled Notification preferences in the righthand side of the page. Click on “Edit”. Click on “Start” to add or edit your email address.

Note that if the check box is selected as electronic mail being your preference, then you will stop receiving paper mail and it will become available in your online CRA account.

Note as well that starting in May 2025, you should also be able to change to paper mail in your Business account.
Part B – Add A Business to CRA Account
Step 1 – Sign into your CRA account
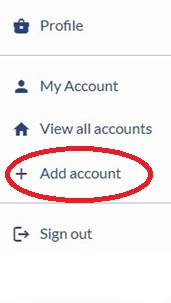
Step 2 – Click on the drop-down arrow in the top right and click on “Add account”
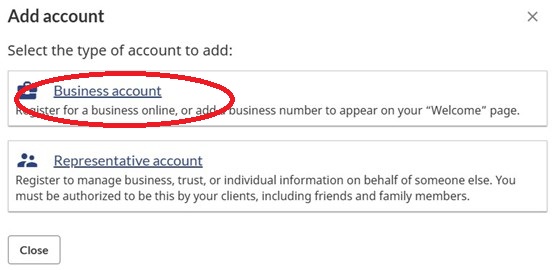
Step 3 – Click on “Business account”
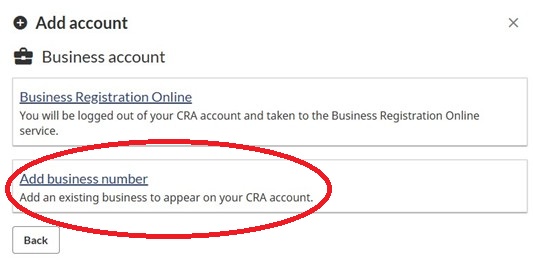
Step 4 – Click on “Add business number”
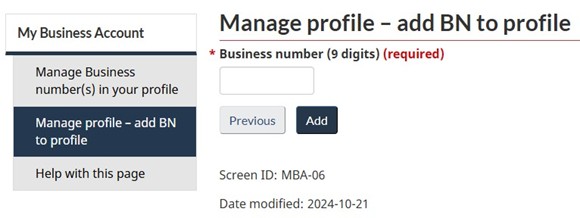
Step 5 – Enter in the Business Number
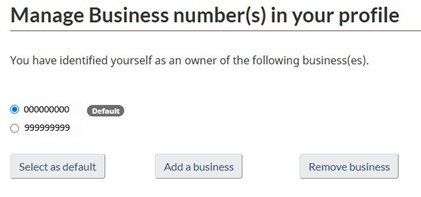
Step 6 – If you have more than one Business Number, you can select a default
Part C – Add GH&A as a Authorized Representative
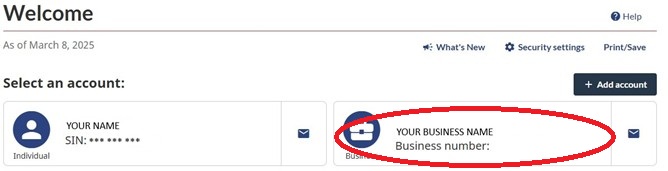
Step 1 – Sign into CRA account and select your Business account.
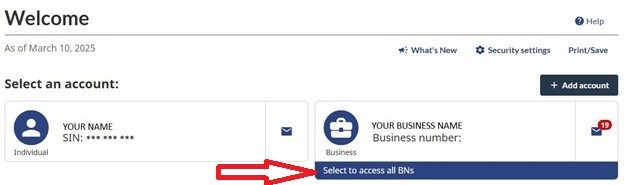
If you have multiple business accounts, then your default account will be shown. To access the other business accounts, click on “Select to access all BNs”.
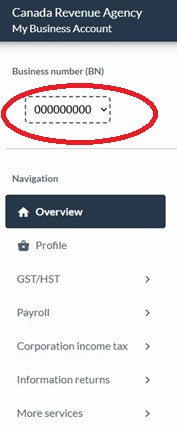
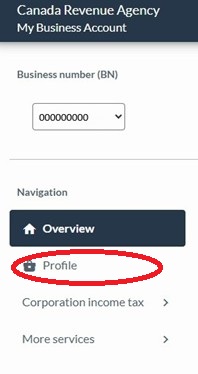
You will be able to toggle between your business accounts by selecting the business number in the dropdown menu in the left toolbar as illustrated below.
Step 2 – Click on Profile when in your Business account
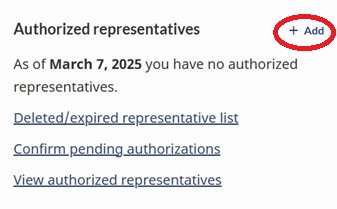
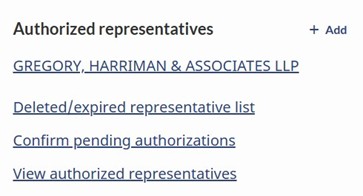
Step 3 – Scroll to the section titled “Authorized representatives” in the lower right corner of the page. Click on the button “+ Add”.
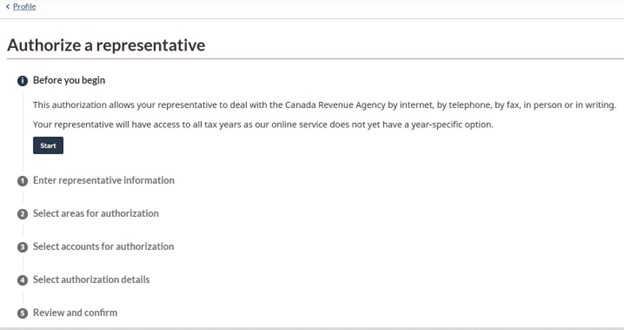
Step 4 – Click on the “Start” button
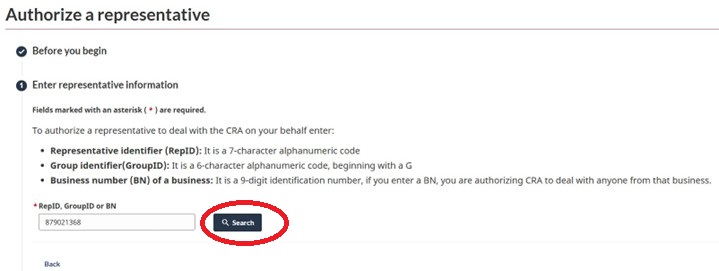
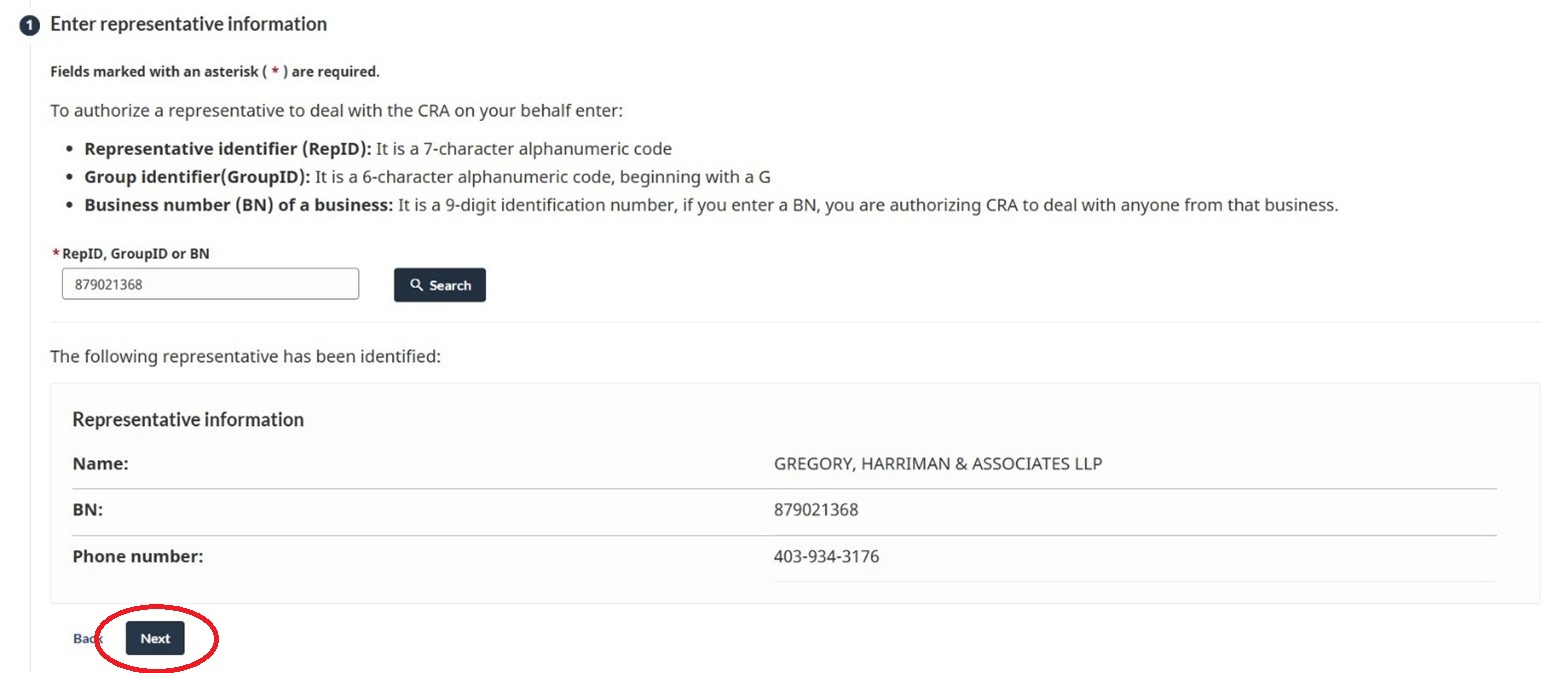
Step 5 – Add in Gregory, Harriman & Associates LLP’s Business Number 879021368 and click on Search
Step 6 - Gregory, Harriman & Associates LLP will be identified. Click on the “Next” button.
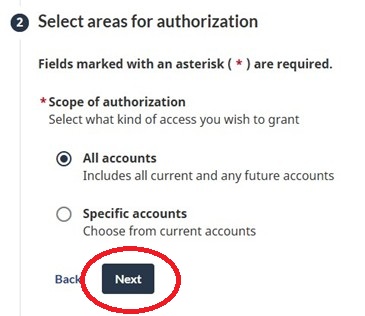
Step 7 – Select “All accounts” and click on the “Next” button.
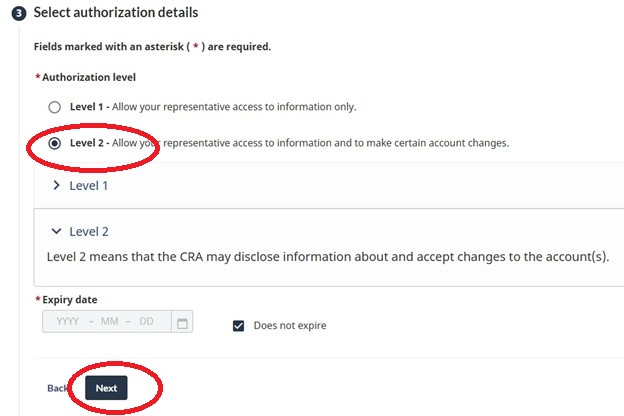
Step 8 – Select “Level 2” authorization and check the box “Does not expire”. Click on the “Next” button.
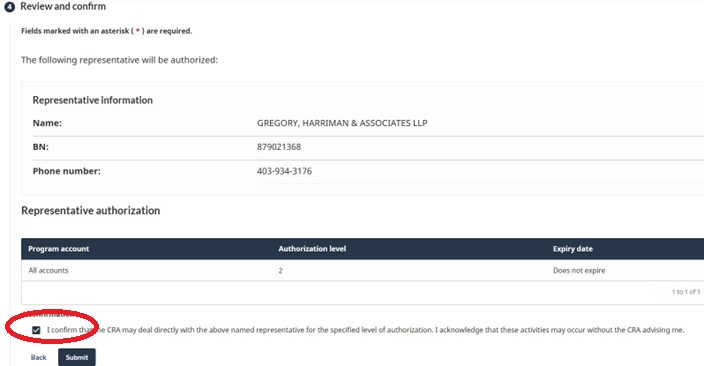
Step 9 – Review and confirm the authorization. Check the Confirmation box and click on the “submit button”.
Step 10 – Save the pending authorization confirmation for your records. Your authorized representatives list should now show Gregory, Harriman & Associates LLP as a representative.
Step 11 – Contact Gregory, Harriman & Associates LLP to let them know that they are now authorized representatives.
If you have any questions regarding these instructions or need assistance, please contact our office 403-934-3176.